-1.png?height=120&name=DI%20Logo%20Dark%20(2)-1.png)
This article gives an overview of how to create a group message and how to send a broadcast group message
To create a group message...
-
Click the + button located next to the Groups tab

-
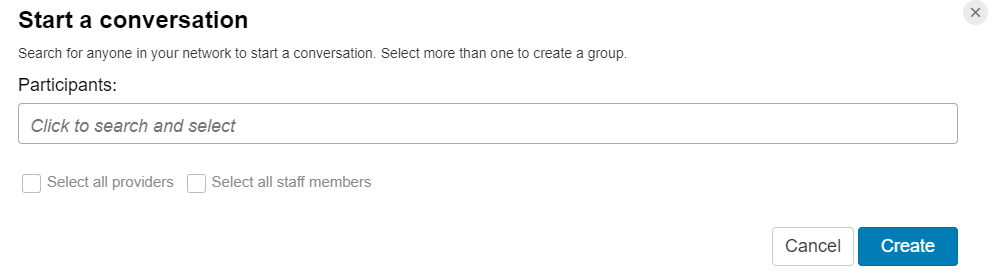
Select the participants for the group message by either searching for them, selecting all providers, or selecting all staff members (minimum of 2 users per group)
-
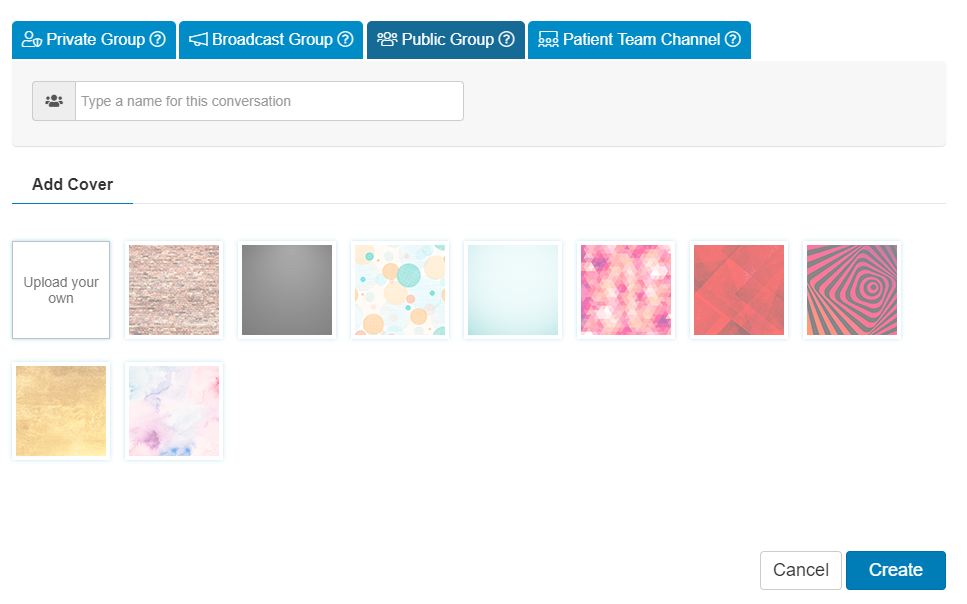
Select the Group Type
-Private Group: allows only the people added to the group to view/send/receive messages
-Public Group: allows any user inside of your organization can communicate within it. It shows in every user's account and each user can manage their own notifications in this group. This group is NOT for patient information and you're unable to attach patients information to messages within a public group
-Broadcast Group: allows only selected users to send/post a messages within the thread. Typically you will see a Broadcast Group used for schedule updates, emergency alerts, or other announcements that you do not want replies to
-Patient Team Channel: Includes any staff users added to the group and includes the patient to communicate together within a private group
-
Enter in the name for your group message in the field "Type a name for this conversation"
-
Select a cover and select Create
-
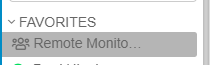
Your new created group will be listed under GROUPS in your Messaging screen
-
Note: Each group type is represented by a specific icon for each type - ex. Public group: group of people icon, Private Group: square with a number inside representing the number of people in the group

-
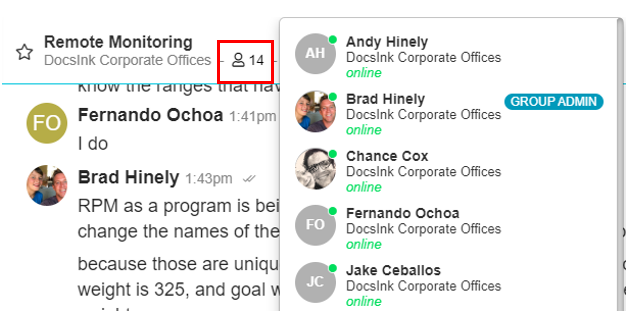
You can view the members of the group anytime by clicking into the group message thread and hovering over the 'person' icon at the top of the screen under the group name
-
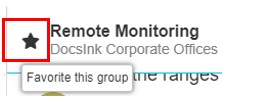
You can move a group to your 'Favorites' by selecting the star next to the group name - to remove from your Favorites unselect the star