-1.png?height=120&name=DI%20Logo%20Dark%20(2)-1.png)
Send/Receive protected External Messages through SMS or Email
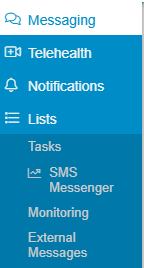
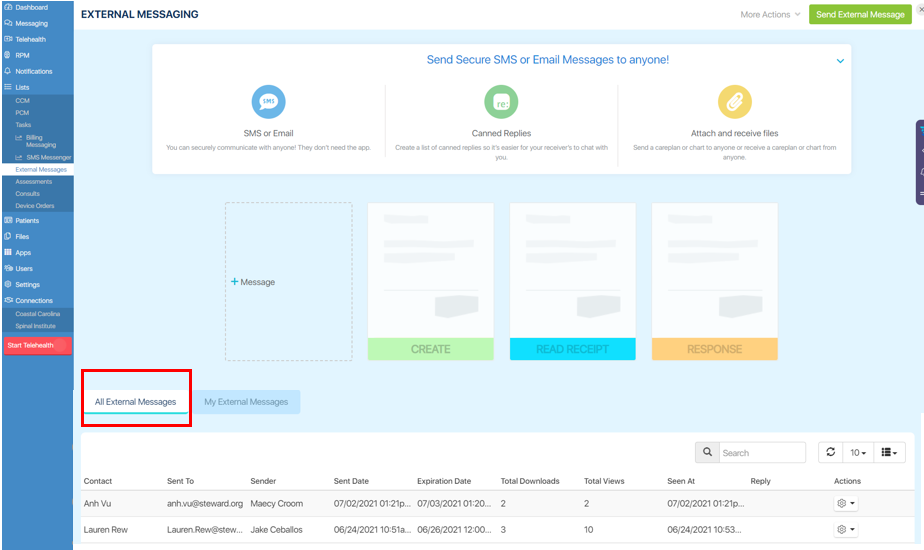
● Once you are logged in to your DocsInk Desktop App select ‘Lists’ from the margin on the left hand side --- then select ‘External Messages’ from the drop down options
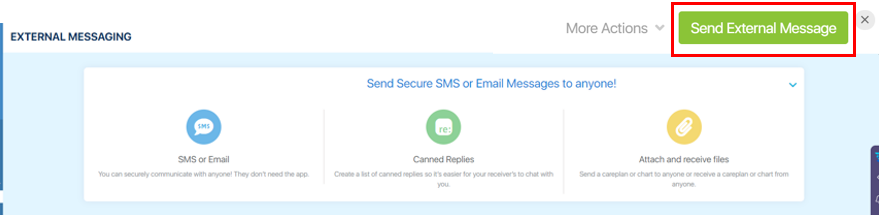
● To Send a new External Message select the Green button in the top right hand corner
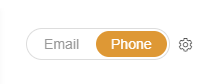
● You can choose to send the message to an email address or mobile phone number by selecting the option at the top
● Enter in the contact information for the patient :
-If you have selected Email- you will need to input the patient's email address
-If you have selected Phone- you will need to enter the patient’s mobile phone number

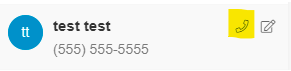
● If you have previously sent an external message to the patient - you can search their name on the left. If you have NOT sent them an external message before they will not appear on this list and you will have to manually enter their information
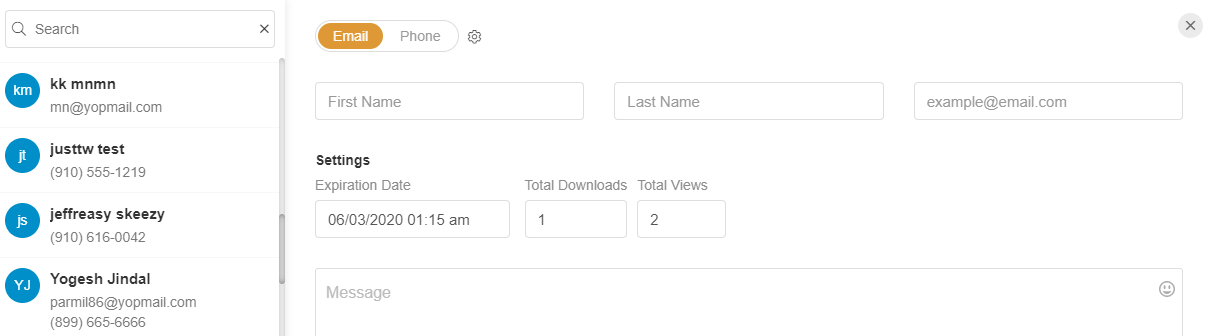
● If the patient is on the list, once you hover your mouse on that patient - a phone icon and edit icon will appear. By clicking the phone icon - the patient information will auto populate into the related fields

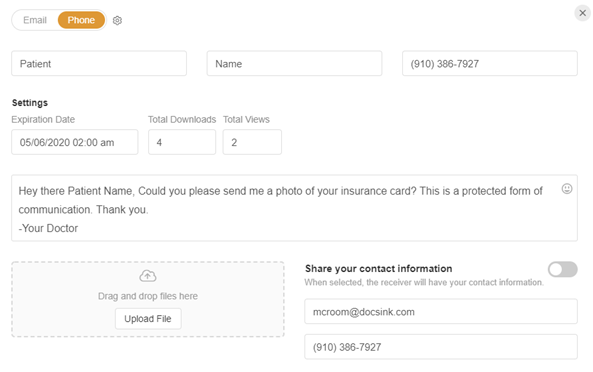
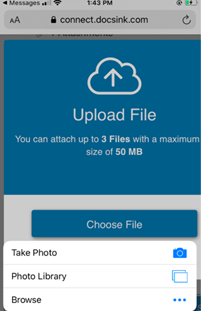
● Once the contact information is filled out you will choose your settings, type your message and you have the option to upload a file if you need to send an attachment
Settings options explained:
-Expiration Date: patient can no longer view the message once the set time has been reached
-Total Downloads: total number of times the patient can download the attachment
-Total Views: total number of times the patient can open and view the message
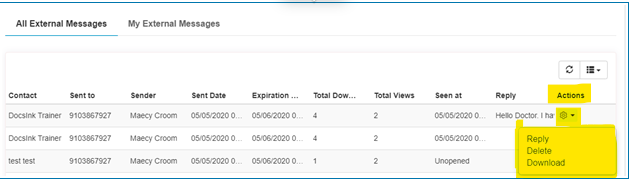
● Once your message has been sent it will appear on your External Message list view
● From this view you are able to see when the message was viewed and if they replied by hovering over the text

● You also have drop down options under Actions of Reply, Delete, and Download
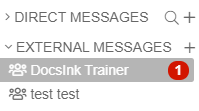
● If the patient sends a reply you will also be notified in DocsInk Messenger under External Messages - the Patient's Name
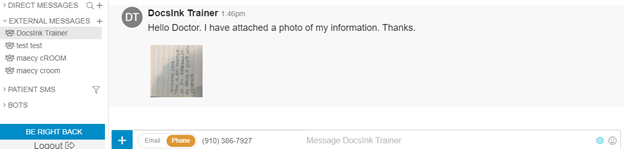
● By clicking into the message thread between you and the patient you can see the conversation and any attachments they have replied with
-Clicking their attachment will enlarge the view
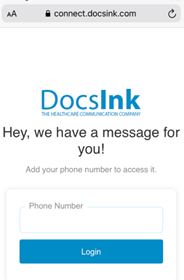
● When you send the message to the patient they will see similar to what is pictured below
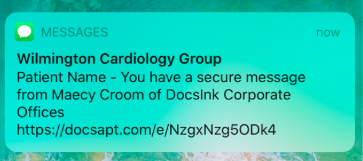
● Once they open the message they will tap the External Message Login
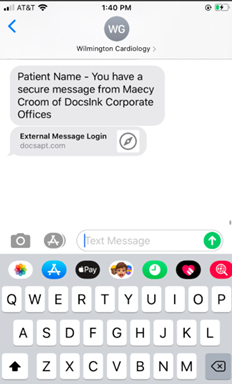
● From the External Message Login link they will be directed to confirm their phone number or email address
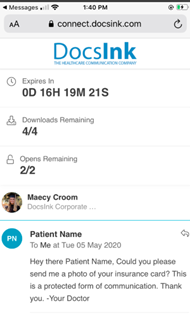
● Once the phone number/email is confirmed, they will be taken to the message
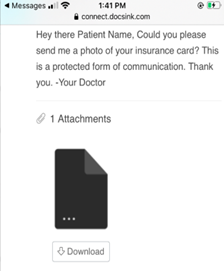
- Here they can see the countdown to expiration, number of downloads for an attachment, number of times remaining that they can open the message, who sent the message and the message content. The attachment is also included at the bottom of the message.
● For the patient to respond they can choose from canned responses, type a message and attach an image or file from their mobile device (or computer if sent via email) by clicking the paperclip attachment icon in the message bar
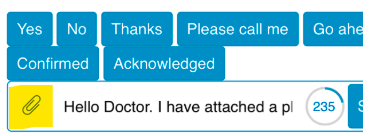
● Once the attachment has been added it is shown as attached, the patient response is in the message bar and they can send the message response

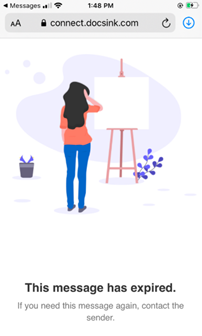
● If a patient tries to open an expired message they will see this
● Important Note: Once the patient has received an external message they are only able to respond ONCE. If the provider sends them another message they will be able to respond ONCE again, but they are never able to send more than one message. This communication platform is not meant for continuous long-term communication. If you are looking for this type of communication please check out of Patient Care Messenger