-1.png?height=120&name=DI%20Logo%20Dark%20(2)-1.png)
When the Patient Communication module is turned on for your organization you need to first create a default location to assign your patients
When the Patient Communication module is turned on for your organization you need to first create a default location to assign your patients
Step 1:
Visit the link below on either Google Chrome, Safari, or Firefox
(DocsInk is NOT supported by Internet Explorer)
Step 2:
Login to DocsInk

Step 3:
Access page to create a new location by the link below:
https://connect.docsink.com/dashboard/location
This link will take you directly to where you add a new location ONLY if you have followed the previous steps of logging in first
If you have successfully landed on the ‘Location List’ page that looks like the screenshot below you can skip to STEP # 4

-
If you have NOT logged in first.. To access the ‘Rounding Location’ page from the previous link you will be prompted to log in. Once you log you can use this link in your address bar: https://connect.docsink.com/dashboard/location
or follow these next steps to reach the ‘Rounding Location’ page
-
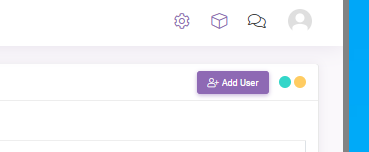
The top right hand corner of your screen should look like the image below.
Click the CHAT BUBBLE ICON - third icon from the left with two overlapping chat bubbles. This will take you to the Messenger screen.
-
On the top left-hand side of the Messenger screen in the margin you will click Dashboard

-
Next, click the Settings tab (left-hand side, second one from the top) Then
select Rounding Locations as shown in the image below

Step 4:
-
Add a new location by clicking the blue ‘Add New’ button on the right-hand side

Step 5:
-
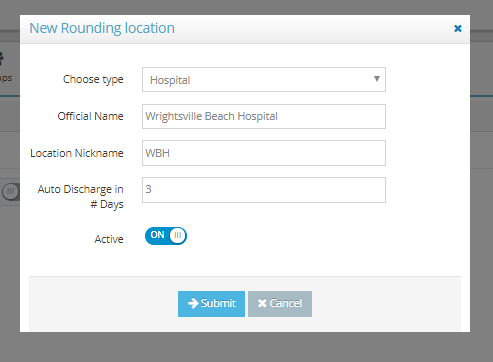
Input your new Rounding Location information
Click ‘Submit’ when all required information is complete
Step 6:
-
Click toggle button from ‘OFF’ to ‘ON’
-
This will automatically set your location as the default
