-1.png?height=120&name=DI%20Logo%20Dark%20(2)-1.png)
Use a Waiting Room Static Link for Telehealth Sessions
- To create a static link to share with patients and external users for telehealth sessions you must first have a custom Waiting Room created. Check out our instructions on how to create a waiting room here.
- Once your custom Waiting Room has been created you will use this link to share with others. It will always be the same link associated with your custom waiting room.
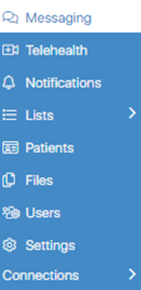
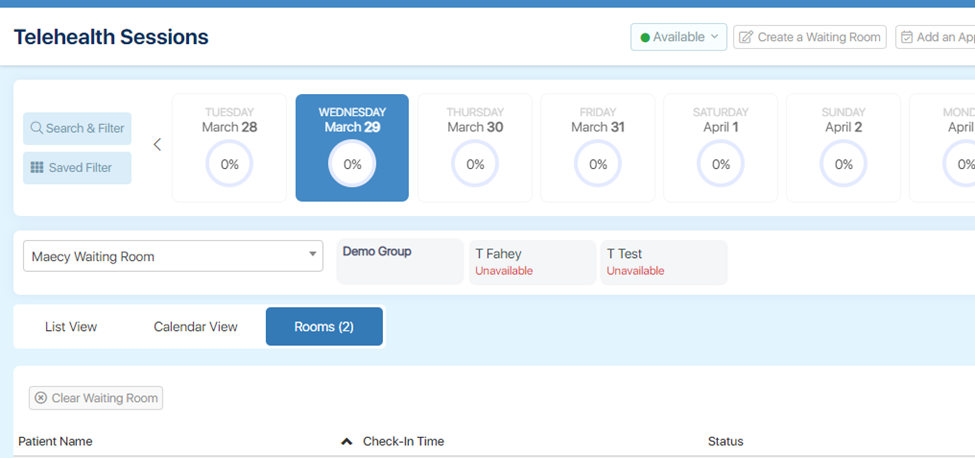
- You can access this link by clicking the Telehealth tab on the left side of the screen
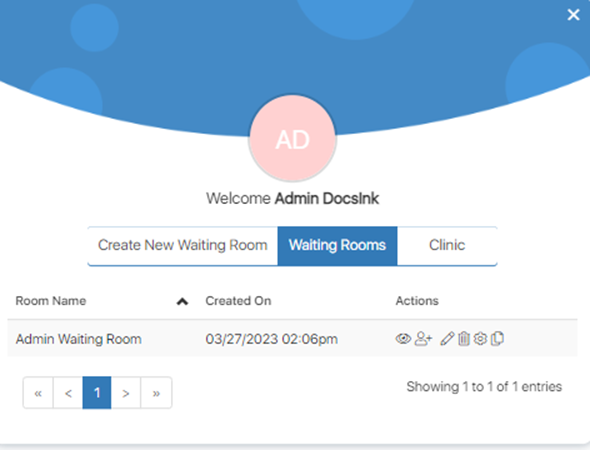
- Then click Create a Waiting Room tab at the top of the screen

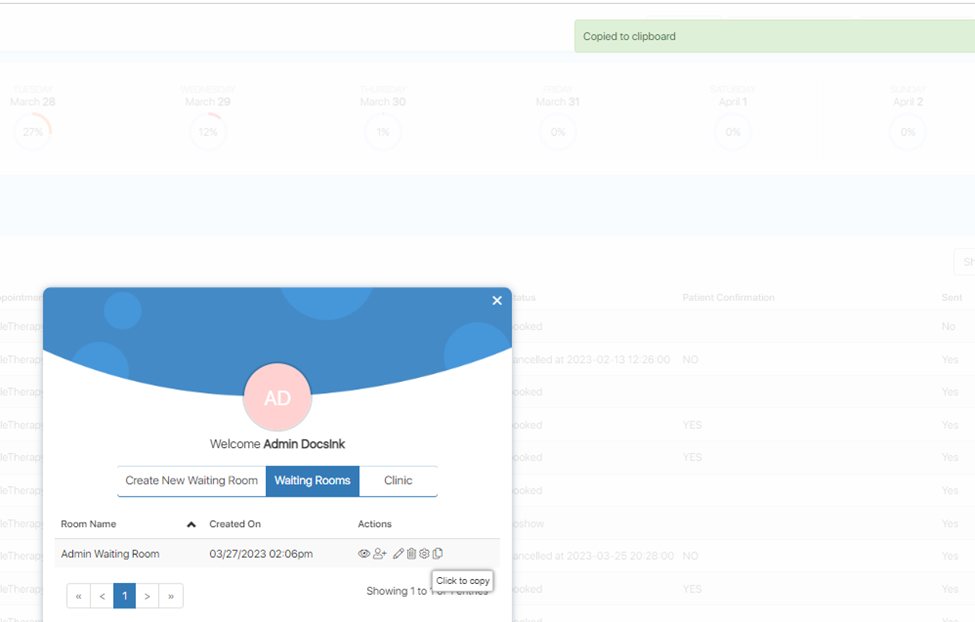
- Next, Select Waiting Rooms section and then the Copy icon next to your Waiting Room
- Share your Waiting Room link
- Once you have successfully copied your Waiting Room link you can share with patients and guests. The link will always be the same and they will simply use the link to check-in to their scheduled appointment. The patient associated with the scheduled appointment will receive an automated message to check-in through text and/or email 5 minutes prior to the scheduled appointment. The message will include the link. They can also always use their providers static Waiting Room Link.
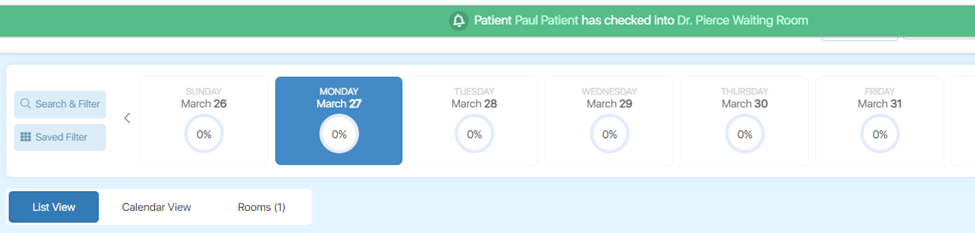
- Once a patient or guest has checked in using your Waiting Room link you will be notified and the patient or guest will be displayed in your Waiting Room. Patients and Guests cannot see others that have also checked into the waiting room. Please review our Patient workflow educational document to familiarize yourself with the patient or guest perspective when using a static Waiting Room check-in link.
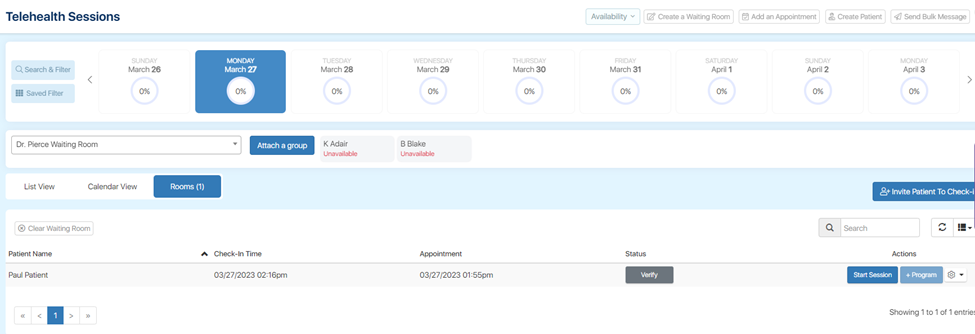
- Start Session
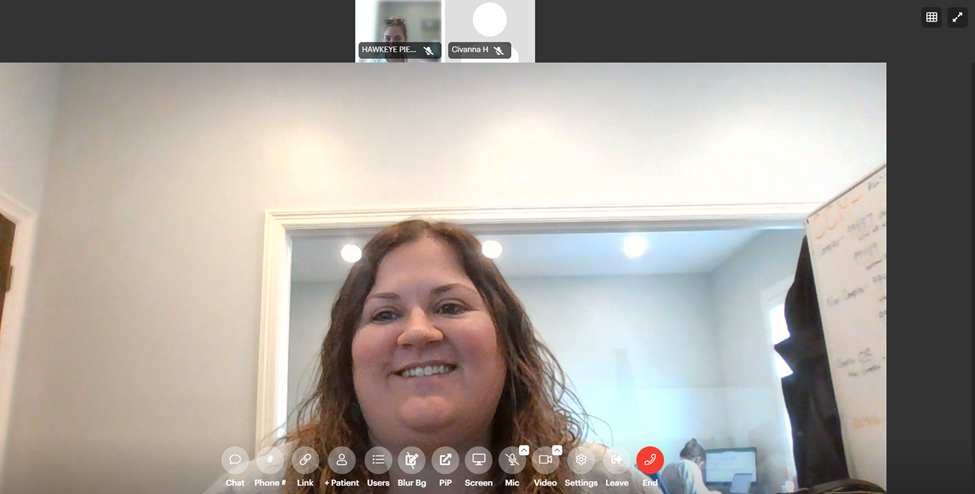
- Navigate to your Rooms tab to start the session with your patient and guests
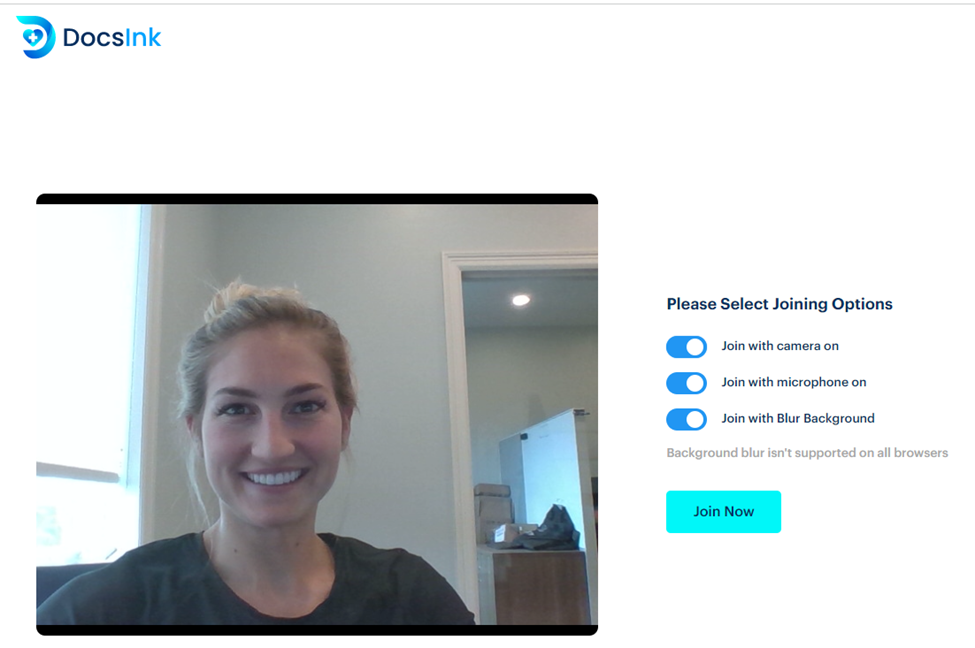
- You will be prompted to join with camera, microphone, and blurred background options. Click Join Now
- Allow or Deny users that have checked into the appointment session
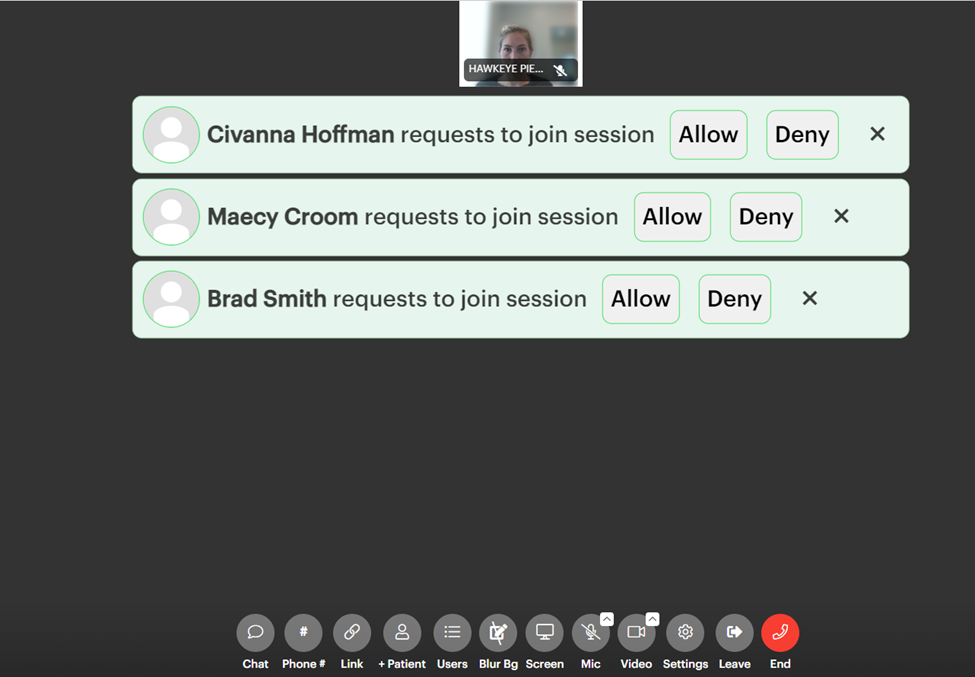
- Once you click Join Now, patients and guests that have checked-in to join the session will appear with an Allow and Deny option
- Select Allow for patients and guests intended to join the session
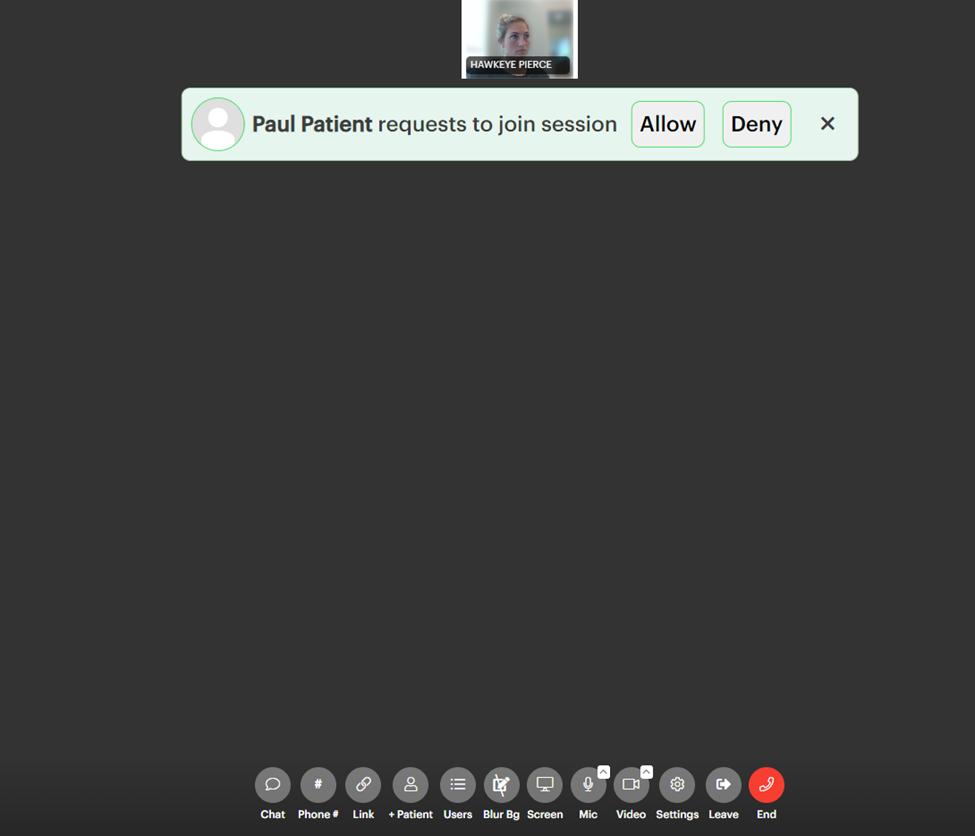
- If you select Deny you will be able to send a direct message to the patient or guest

- All of your ‘Allowed’ users will be on the call and display at the top of the screen. You can click the user you would like to view as the main screen
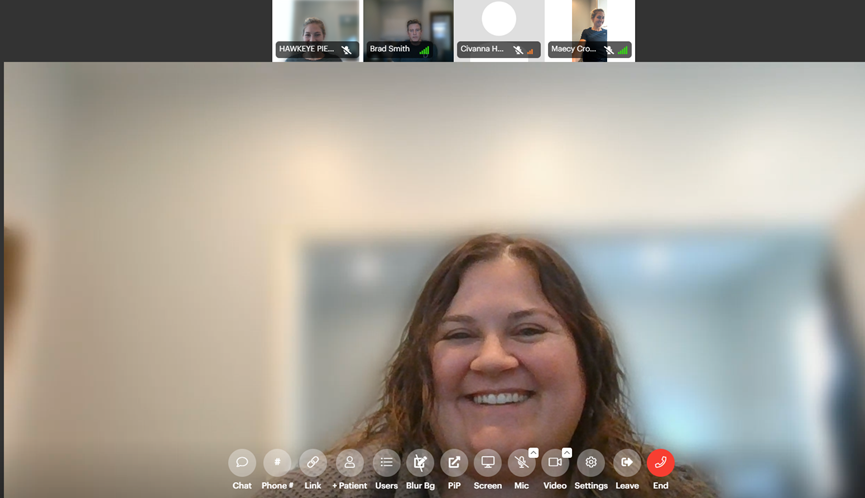
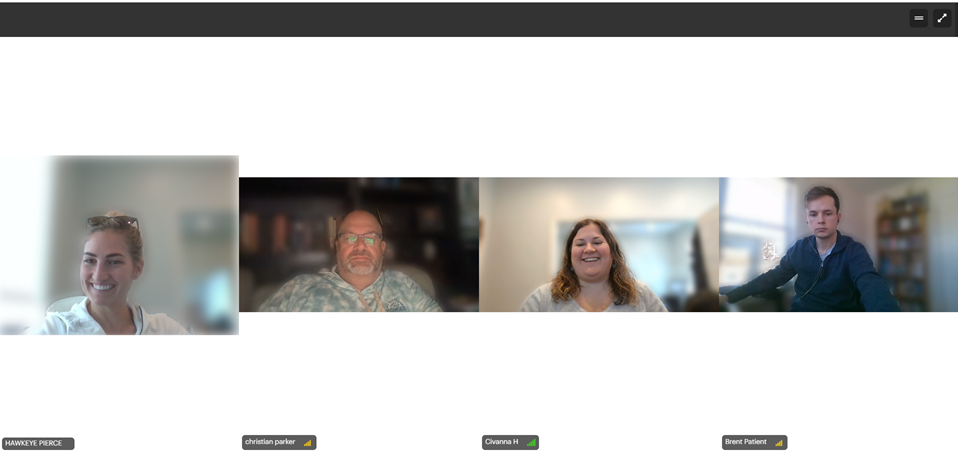
- To view all users on one screen select the grid icon in the upper right corner
All users on call view:
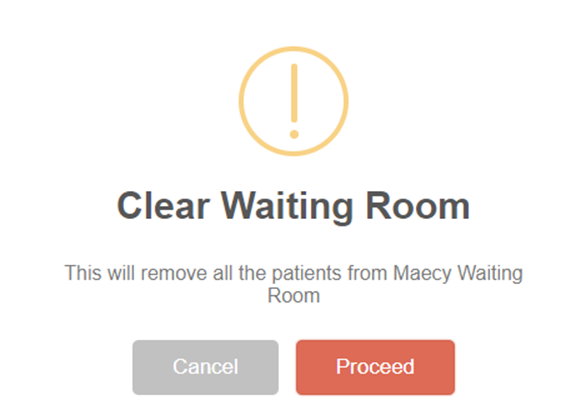
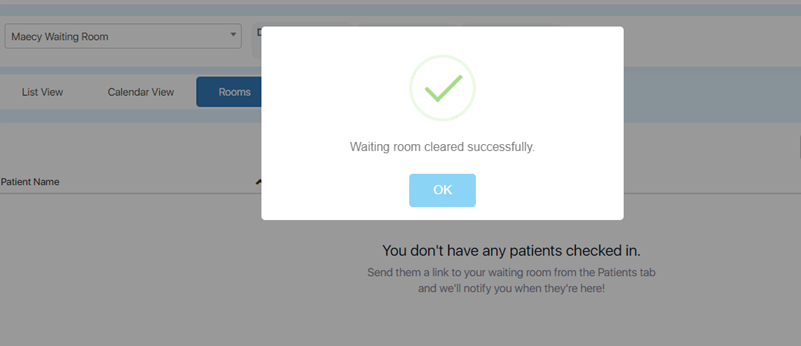
- Clear your Waiting Room
- We recommend you Clear your Waiting Room periodically to reduce the list and missing check-ins
- Check out our other Telehealth educational documents linked here!
*If you follow these steps and still experience issues, please restart your device