-1.png?height=120&name=DI%20Logo%20Dark%20(2)-1.png)
Waiting Rooms How to create a custom waiting room for a provider where your patients can virtually check in
-
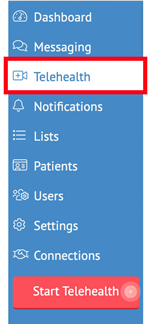
To Create your Waiting Room click on the Telehealth tab in the left margin
-
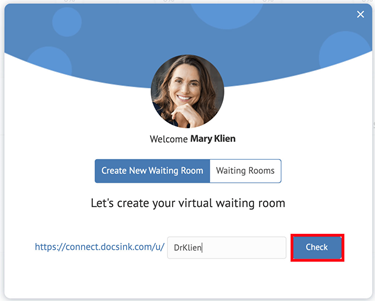
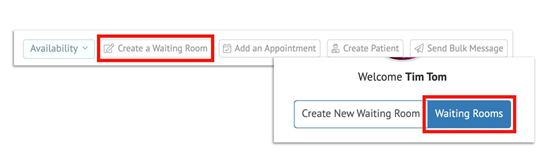
Select ‘Create a Waiting Room’ from the tab options at the top of the screen

-
You will add a name for your custom link and 'Check' its availability
-
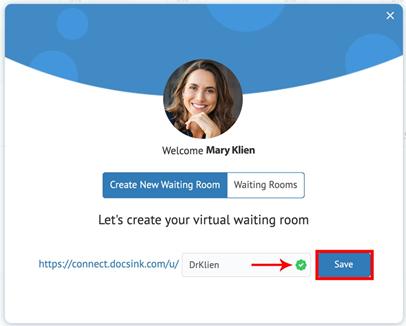
Once checked and verified a green check will appear, click Save
-
Once this URL has been created it is not editable – you can only delete or make a new one to update the URL
-
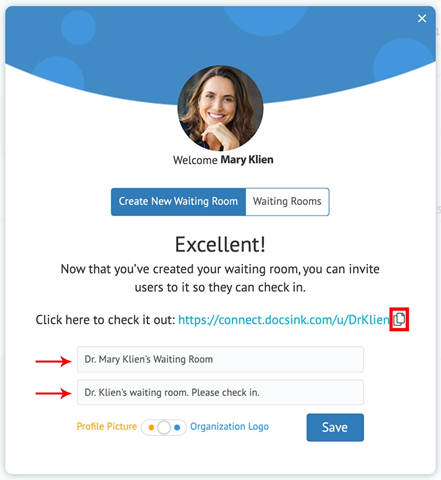
Your Waiting Room URL/website link has been created. To share, copy your room’s link by selecting the ‘Copy’ icon next to the URL.
-
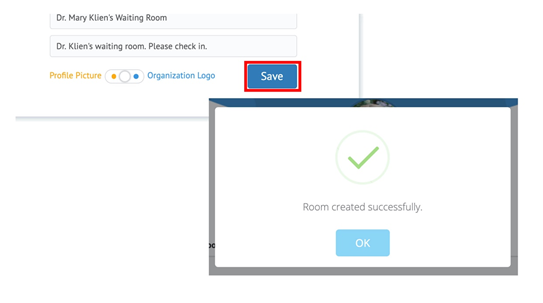
This is also where you will ‘Name your waiting room’, add a ‘Greeting display’ and toggle to choose your display photo
-
Once you name your waiting room click Save
-
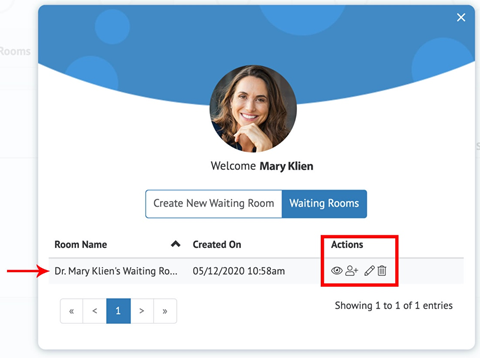
When your waiting room has been created you will see a list of all your Rooms available
-
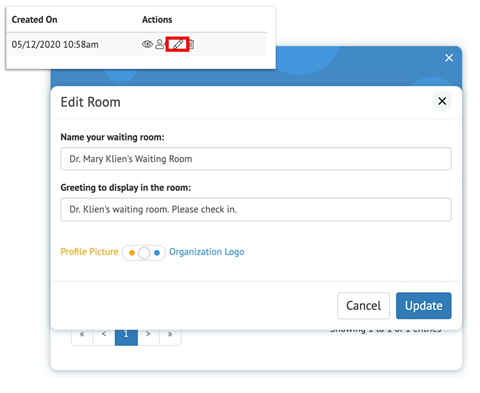
With the Action icons you can View Room, Add Users, Edit Room and Delete Room
-
To return to this view select ‘Create a Waiting Room’ from the tabs at the top and then choose ‘Waiting Rooms’ from the two (2) options in the middle of the screen
-
If you do not see all the icon options available, you have been added to the room as a Guest User

-
‘View Room’ (eye icon) allows you to view the room as a patient would at the time of their Check-In (both options displayed below)

-
You can also come back to this view to find the URL/website link to your Waiting Room at the top of the page in the address bar
-
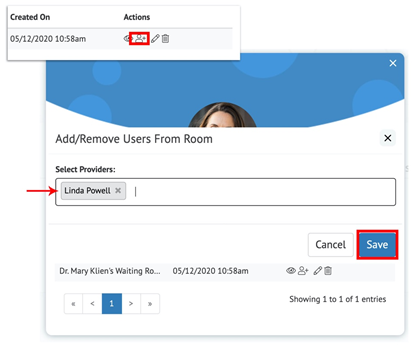
‘Add Users’ (person icon) allows you to create a shared waiting room with other Staff users (ex. Nurse) – Type their name and select the user, then 'Save'
-
‘Edit Room’ allows you to edit and update your Waiting Room name, greeting and photo
-
‘Delete Room’ will delete the selected Waiting Room

Start Telehealth session using Waiting Room workflow
-
There are two ways to invite a patient to check in to your Waiting Room
-
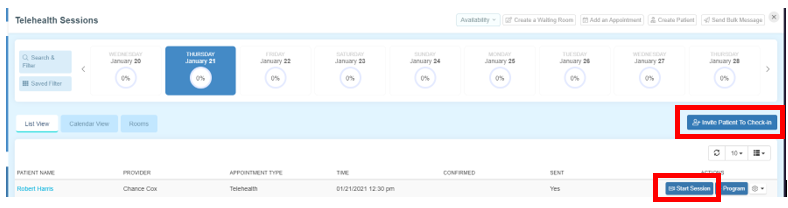
Invite a patient to check in to your Waiting Room directly from your telehealth appointment 'Start Session' button OR directly from the 'Invite Patient to Check-in' button
-
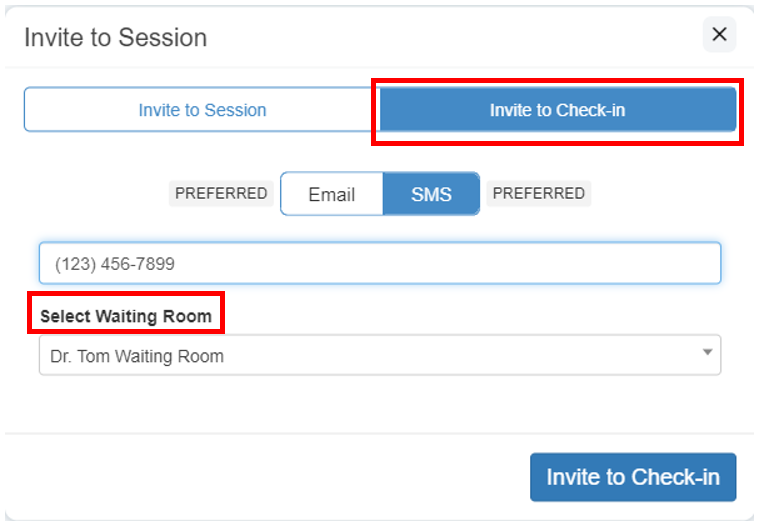
If you select the 'Start Session' button, you will then select 'Invite to Check In', choose to send via Email or SMS, confirm patient phone number, and Select the Waiting Room you would like this patient to check in to
-
The patient will receive a text or email with a link to check in. Once they click the link it will ask them to fill out their information from one of these two formats (as set within each customizable Waiting Room setup )

-
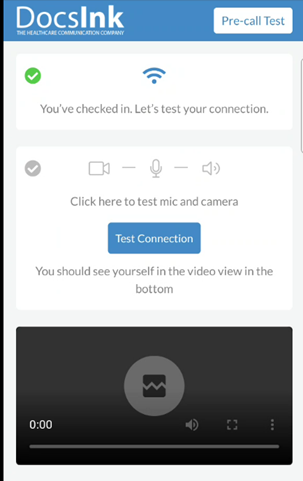
Once the Patient has checked in they will run through some tests to make sure their telehealth visit will run smoothly. Select "Test Connection"
-
-
Even if the patient does not click 'Test Connection' the patient will be prompted to Join Now once the Provider starts session
* This will be patient view until provider joins the session
-
-
-
Once the patient has successfully checked in, the provider and any users that were added as members to this Waiting Room will receive a
-push notification at the top of their screen (pictured below)

-an email notification
-and the patient name will be listed under the room they checked into
-
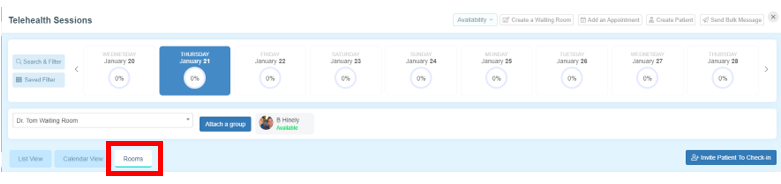
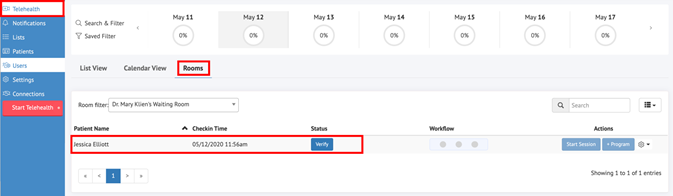
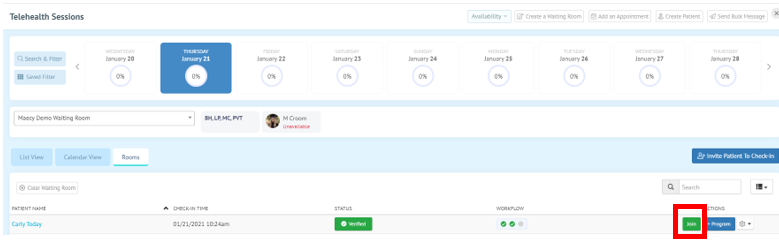
From the Telehealth tab in the left Margin, click ‘Rooms’ to view your list of patients that have checked in and are waiting to be seen

-
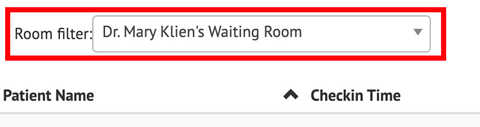
If there are multiple Waiting Rooms, you can filter rooms by clicking the arrow in the ‘Room filter’ box
-
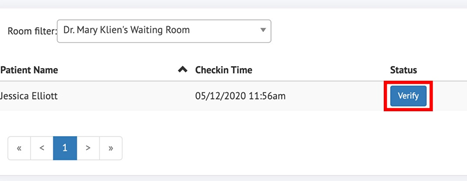
Once you are notified the patient has checked in, click ‘Verify’ under Status
-
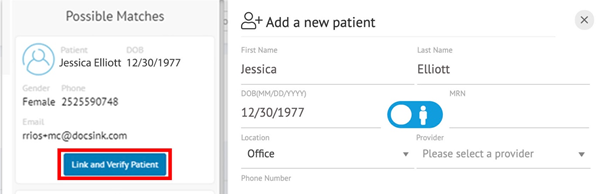
Once verified the patient information will auto populate showing possible matches to current patients in your system
-
If the patient is a match choose ‘Link and Verify Patient’ under the Possible Matches option
-
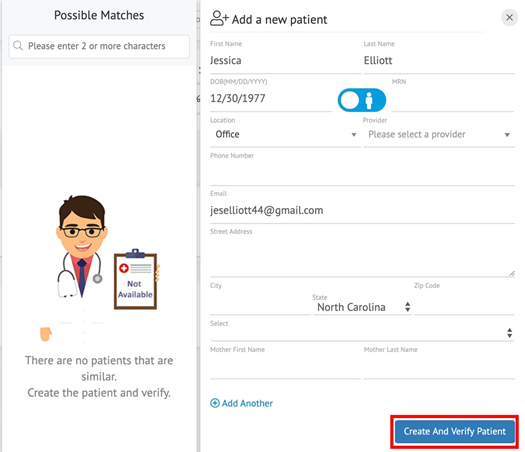
If the patient is not in the system or is a new patient, you can select ‘Create and Verify Patient’

-
Once the patient has checked-in and is verified – Click the 'Start Session’ button beside the patient name to begin your telehealth call.
-
A new window with the telehealth video screen will automatically open requesting provider to 'Join Now'
-
Patient Telehealth window changes to request they Join Now

-
Once the session has been started by one user, all other staff users that were added as members of this Waiting Room will see a JOIN button. This will allow another staff member, that is a member of this waiting room, to JOIN the session
-
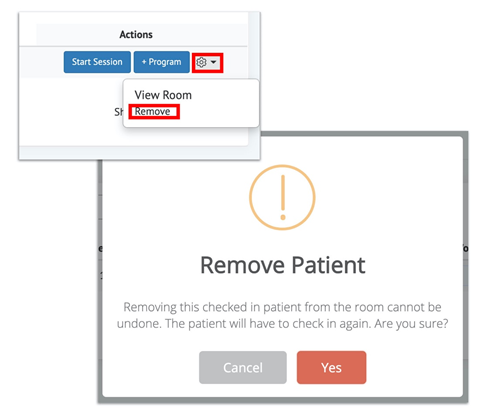
If you need to remove a patient from the Waiting Room List select the Actions Icon to reveal a drop down option to ‘Remove’
-
A provider can manually update their availability Status by the tab at the top of the screen

*If you follow these steps and still experience issues, please restart your device