-1.png?height=120&name=DI%20Logo%20Dark%20(2)-1.png)
Steps on how to add an appointment from the DocsInk native desktop app
-
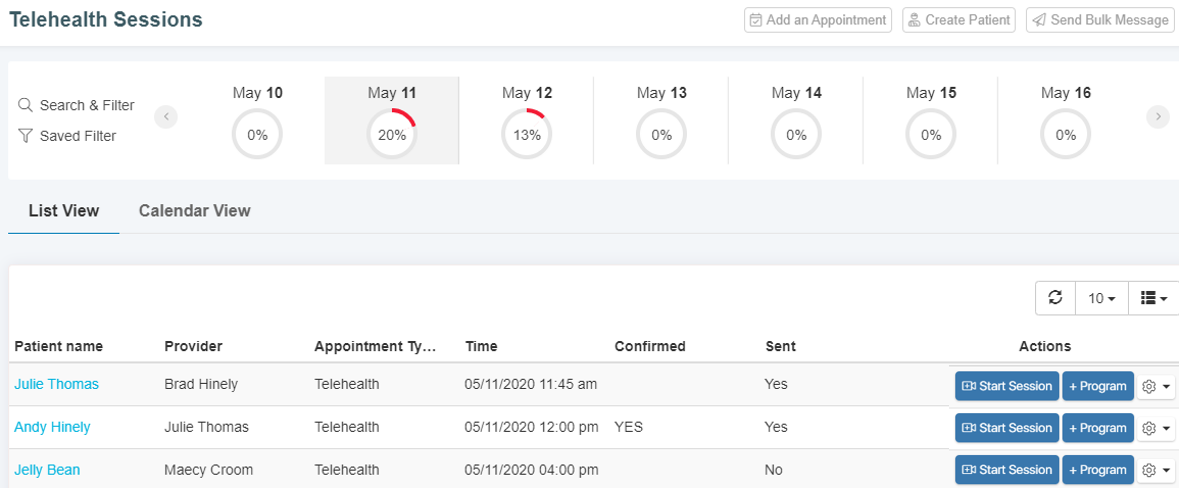
Start in the Telehealth tab located in the left margin of your DocsInk screen
-
Next, click 'Add an Appointment' in the upper right view of the screen
-
If your patient has not yet been created, create patient by clicking 'Create Patient' next to the 'Add an Appointment' button

-
Create your appointment by filling out the appointment information form and click 'Create'

-
Once the appointment has been created you will see your list of appointments for that selected day
-
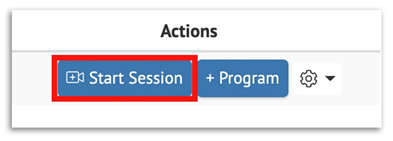
At the time of appointment you can click the 'Start Session' button next to the patient name
-
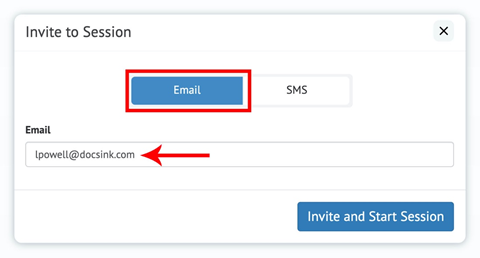
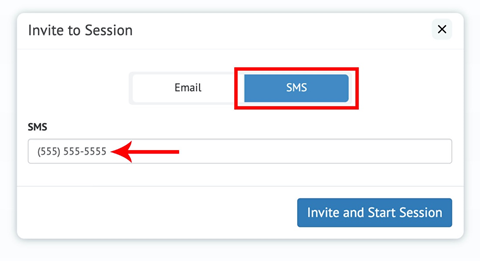
Now you have the option to send the Telehealth Invitation to the patient's email address or with our Premium Productivity accounts - send to the patient's mobile phone number through SMS text
-
To send via SMS Message you will first need to Provision a Phone Number
-
Once the invitation has been sent, a new window opens
-
Select Join Now with Camera and Microphone on to ensure full Telehealth Connection

-
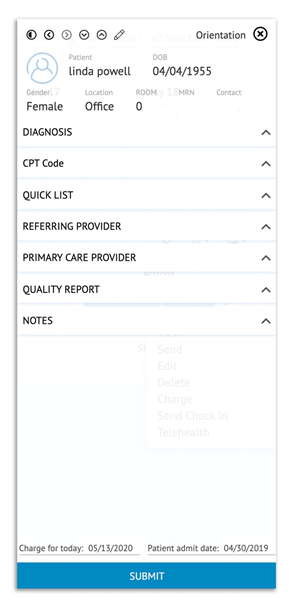
If you are a provider, once the patient joins your telehealth session you have access to post a charge at any time. you can immediately submit a charge by selecting the actions icon and choosing 'Charge' from the Action drop-down options

-
This will access our Charge Capture platform
*If you follow these steps and still experience issues, please restart your device